How to Stop Weight Paint Lowering Other Vertex Groups in Blender (Blender 5.3)
In Blender 5.3, Auto Normalize is on by default in Weight Paint mode, so painting one bone's vertex group lowers the other deform groups on the same vertices to keep the total at 1.0. To keep the other groups as they are, open Options in the tool header and turn off Auto Normalize. In the test, one stroke on the group Upper with the Add Weight brush at Weight 1.0, its Strength raised from the starting 0.05 to 1.0, dropped the group Lower from 0.5 to 0.0 on all 273 painted vertices; with Auto Normalize off, Lower stayed at 0.5 on those 273 vertices and on the rest of the 2911.
- Mode
- Weight Paint mode
- Menu
- Options › Auto Normalize
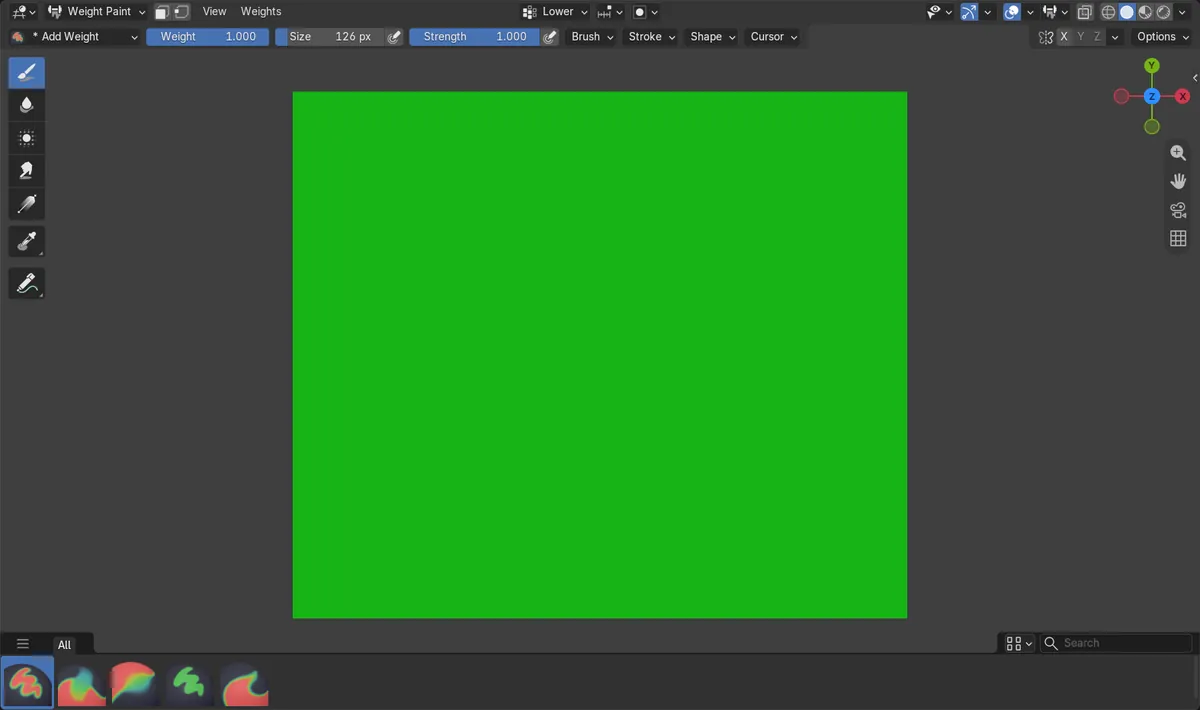
Where the setting is
Auto Normalize is in the Options popover of the Weight Paint tool header, and in the Options panel of the Tool tab in the sidebar.
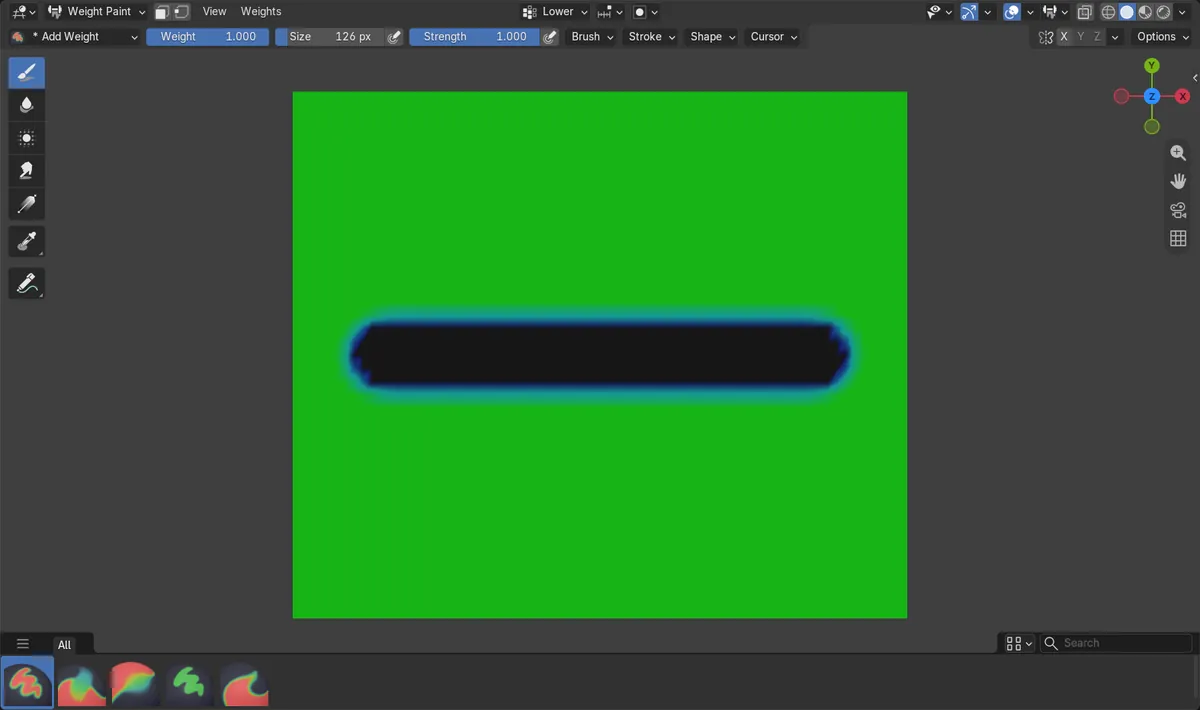
Lower kept its weight
With Auto Normalize on, one Add Weight stroke at Weight 1.0 and Strength 1.0 on Upper dropped Lower to 0.0 on all 273 painted vertices; with it off, Lower stayed at 0.5 on those 273 and on every other vertex.
New default in 5.3
Blender 5.3 turns on Auto Normalize and Multi-Paint in new files; in Blender 5.2 LTS both are off. Mirror Vertex Groups is on in both.
Before and after

AI Scene Builder is a Blender add-on. You type what you want, and it builds it in your scene: buildings, neon signs, wet pavement, fog and lights. Nothing in this picture was modeled by hand.
On a phone now? The add-on runs in Blender on a computer. Send yourself the link and open it there.
Step by step (Blender 5.3)
- Select the mesh that has the armature, enter Weight Paint mode and pick the vertex group you want to paint in the Vertex Groups list.
- Open Options in the tool header (or the Options panel in the Tool tab of the sidebar).
- Turn off Auto Normalize.
- Paint as usual. The group you paint goes up and the other bone groups keep the weights they already had.
- When you are done, turn Auto Normalize back on if you want the totals kept at 1.0, or use Normalize All in the Weights menu to even them out once.
Other ways to do it
- Lock a vertex group with the lock icon in the Vertex Groups list so painting other groups never changes it
- Turn off Mirror Vertex Groups in the Symmetry panel if a stroke with X symmetry should paint the same group on both sides instead of the matching .L or .R group
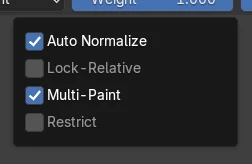
Blender 5.2 LTS vs Blender 5.3
| What | Blender 5.2 LTS | Blender 5.3 |
|---|---|---|
| Auto Normalize and Multi-Paint on by default | In Blender 5.2 LTS a new file starts with Auto Normalize and Multi-Paint off (Mirror Vertex Groups is on in both versions); in the test Lower stayed at 0.5 after painting Upper. | Blender 5.3 starts new files with Auto Normalize and Multi-Paint turned on. |
Common snags
The other groups still drop
Auto Normalize was turned off in one file, but the setting is stored per file. Check Options again in each file you open.
Painting changes both sides
X is turned on in the Symmetry panel, so each stroke also paints the mirrored vertices. Turn off X there to paint one side. Mirror Vertex Groups sets which group the mirrored side goes into: the matching .L or .R group when it is on, the same group when it is off.
The total weight goes above 1.0
With Auto Normalize off, a vertex can end up with more than 1.0 in total across its bone groups. Run Normalize All from the Weights menu before you export or animate.
An AI add-on for Blender
AI Scene Builder is a Blender add-on that builds and edits your scene from one typed request, such as “a small wooden table with two chairs”. Each request can be undone in one click.
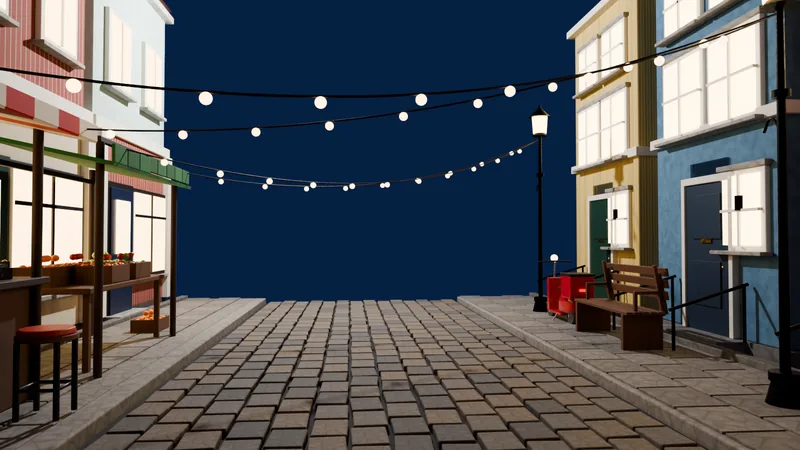 An evening market street built with the add-on from 11 typed requests. See every request →
Questions
Why does weight painting one bone remove weight from other bones in Blender?
Auto Normalize keeps the total of the bone groups on each vertex at 1.0, so raising one group lowers the others. Blender 5.3 turns it on by default; turn it off in Options in the tool header.
What does Auto Normalize do in Blender?
It rescales the weights of the deform groups on a vertex so they add up to 1.0 after each stroke. Groups that are not used by an armature are left alone.
Is Auto Normalize bad for rigging?
No. It keeps the weights clean for deformation. Turn it off while you block in weights, then turn it back on or run Normalize All from the Weights menu once.
What the pictures show
- Before: a mesh of 2911 vertices with two bone groups, Upper and Lower, both at 0.5 on every vertex; in a new Blender 5.3 file Auto Normalize, Multi-Paint and Mirror Vertex Groups were on.
- One stroke on Upper with the Add Weight brush, Weight 1.0 and Strength raised from 0.05 to 1.0, took 273 vertices above 0.95 and dropped Lower to 0.0 on all 273 of them. With Auto Normalize off, the same stroke left Lower at 0.5 on those 273 vertices and on all 2911.
- In Blender 5.2 LTS Auto Normalize and Multi-Paint were off in a new file and Mirror Vertex Groups was on; the stroke on Upper left Lower at 0.5.