How to UV Unwrap with Smart UV Project in Blender
In Edit Mode, select the faces you want, press U in the 3D Viewport and choose Smart UV Project (Blender 4.2 LTS). Blender then creates a UV map with the selected faces laid out inside the 0 to 1 UV square. In Blender 5.x the UV Mapping menu does not list Smart UV Project directly.
- Mode
- Edit Mode (3D Viewport)
- Menu
- UV › Smart UV Project (Blender 4.2 LTS)
- Shortcut
- U
Press U
Opens the UV Mapping menu in Edit Mode.
UV menu
The header menu is called UV in the 3D Viewport. Smart UV Project is listed in it in Blender 4.2 LTS.
Select faces first
Only selected faces are unwrapped.
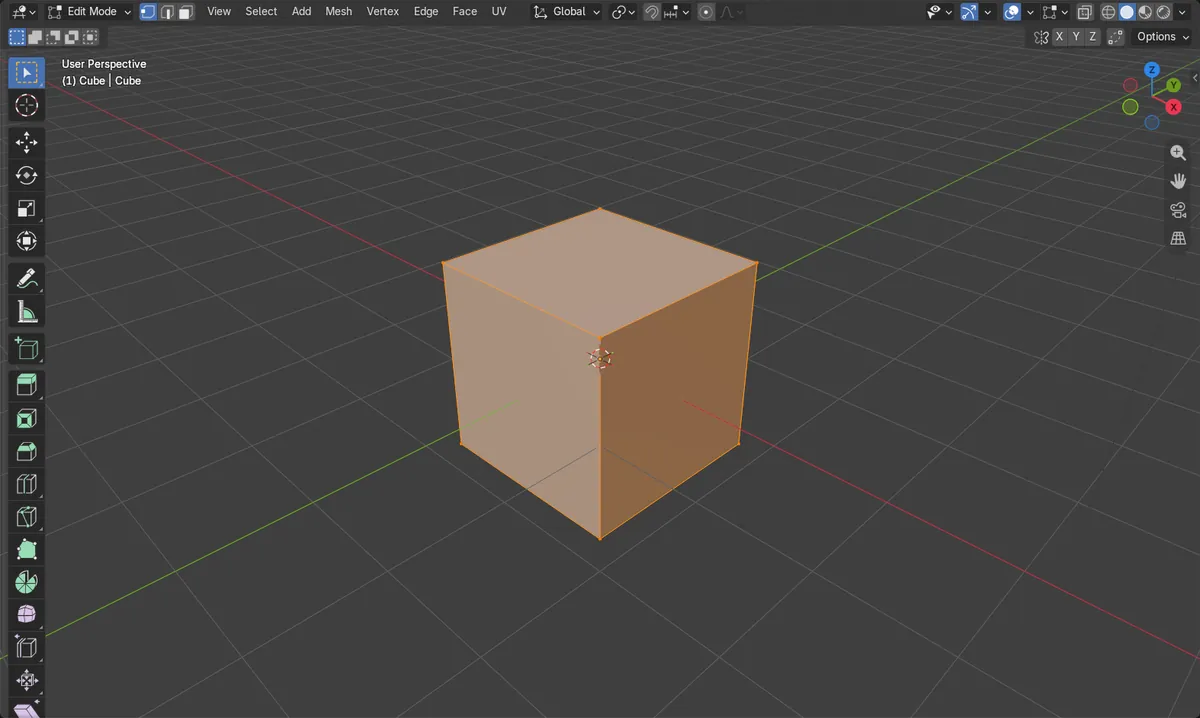
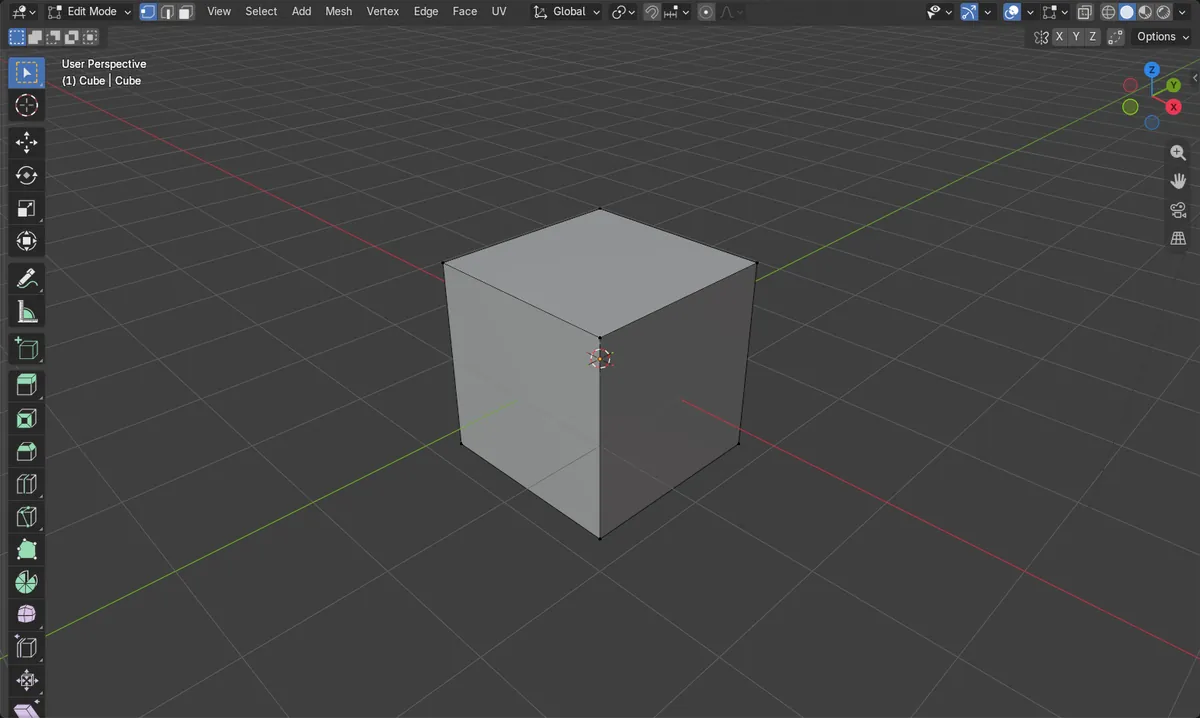
Before and after
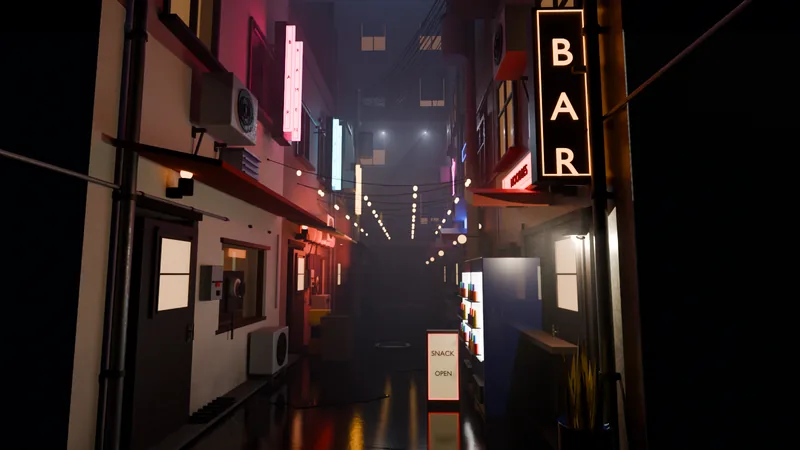
AI Scene Builder is a Blender add-on. You type what you want, and it builds it in your scene: buildings, neon signs, wet pavement, fog and lights. Nothing in this picture was modeled by hand.
On a phone now? The add-on runs in Blender on a computer. Send yourself the link and open it there.
Step by step (Blender 5.x)
- Select your mesh object and press Tab to enter Edit Mode.
- Select the faces to unwrap. Use Select › All to take the whole mesh.
- With the mouse over the 3D Viewport, press U to open the UV Mapping menu, or open the UV menu in the header.
- In Blender 4.2 LTS, choose Smart UV Project in the menu. In Blender 5.x it is not listed directly in this menu.Blender 4.2 LTS: In Blender 4.2 LTS, Smart UV Project is listed directly in the UV Mapping menu.
- Open the Data tab in the Properties editor and look at the UV Maps panel to see the new UV map.
Other ways to do it
- Right-click in Edit Mode, then UV Unwrap Faces › Smart UV Project (Blender 4.2 LTS)
- Header menu: UV › Smart UV Project (Blender 4.2 LTS)
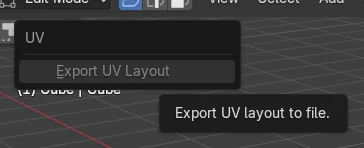
Blender 4.2 LTS vs Blender 5.x
| What | Blender 4.2 LTS | Blender 5.x |
|---|---|---|
| Smart UV Project in the UV Mapping menu | Smart UV Project appears as an entry in the UV Mapping menu (U key, UV header menu, and the UV Unwrap Faces right-click submenu). | The UV Mapping menu opens with the same U key, but Smart UV Project is not listed directly in it in the 5.2 build, nor in the UV header menu or the UV Unwrap Faces right-click submenu, which open the same menu. The UV Maps panel in the Data tab still shows the resulting map. |
Common snags
Nothing happens
Smart UV Project only works on selected faces in Edit Mode. Press Tab to enter Edit Mode and use Select › All.
U opens nothing
The U key only works when the mouse is over the 3D Viewport. Move the cursor into the viewport and try again.
An AI add-on for Blender
AI Scene Builder is a Blender add-on that builds and edits your scene from one typed request, such as “a small wooden table with two chairs”. Each request can be undone in one click.
 A log cabin room built with the add-on from 9 typed requests. See every request →
Questions
What key opens the UV unwrap menu in Blender?
Press U in Edit Mode with the mouse over the 3D Viewport. This opens the UV Mapping menu.
Does Smart UV Project need a UV map first?
No. A mesh with no UV map gets one created when you run it.
What the pictures show
- Before: the Cube had 0 UV maps.
- After: the Cube had 1 UV map with 24 UV corners, one for each face corner.
- UV coordinates ran from (0, 0) to about (0.67, 1.0), inside the 0 to 1 square.
- The result was the same in Blender 4.2 LTS and Blender 5.x.