How to Add Shape Keys in Blender
Select the mesh, open the Object Data Properties tab (green triangle) and in the Shape Keys panel click + twice. The first click makes Basis, the original shape; the second makes Key 1. With Key 1 highlighted, press Tab, change the mesh and press Tab again. Drag Key 1's Value from 0 to 1 to blend between the two shapes.
- Mode
- Object Mode, Properties editor
- Menu
- Object Data Properties › Shape Keys (+ button)
- Shortcut
- Tab to edit the active key
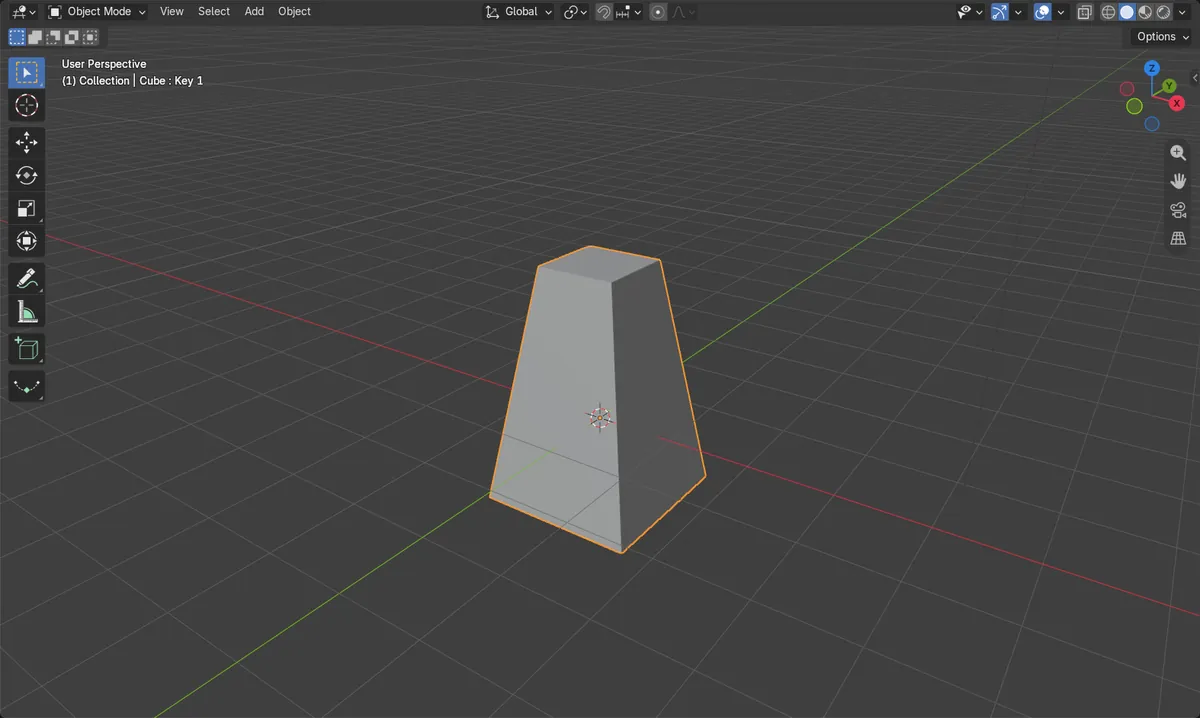
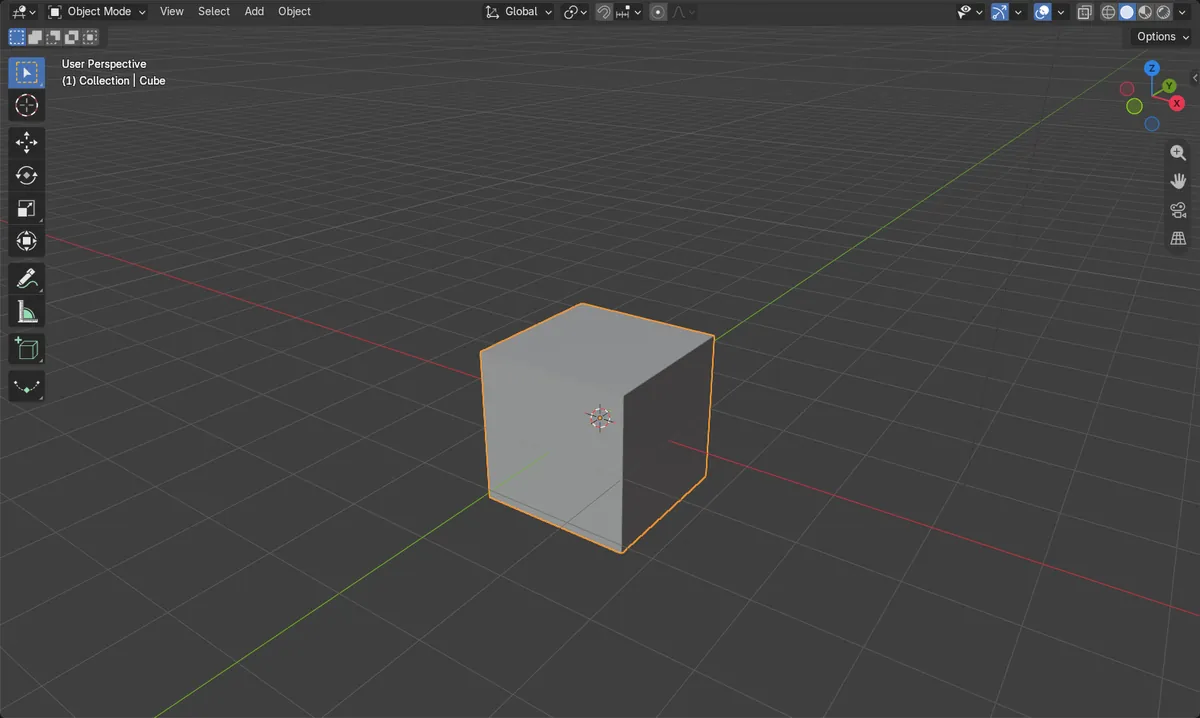
First key is Basis
Basis keeps the original shape; do not edit it.
Edit Key 1 with Tab
Changes in Edit Mode go into the highlighted key.
Value from 0 to 1
Drag the slider to blend the shape in.
Before and after
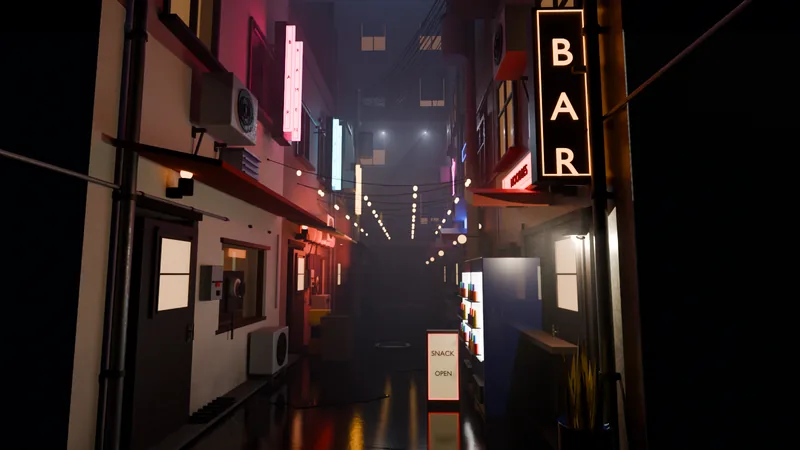
AI Scene Builder is a Blender add-on. You type what you want, and it builds it in your scene: buildings, neon signs, wet pavement, fog and lights. Nothing in this picture was modeled by hand.
On a phone now? The add-on runs in Blender on a computer. Send yourself the link and open it there.
Step by step (Blender 5.x)
- Select the mesh in Object Mode and open the Object Data Properties tab (green triangle icon).
- In the Shape Keys panel click + once. Basis appears; it stores the current shape.
- Click + again to add Key 1, and keep it highlighted in the list.
- Press Tab, move, scale or sculpt the vertices into the new shape, then press Tab to go back to Object Mode.
- Drag Key 1's Value slider between 0 and 1 to blend from the original to the new shape.
Other ways to do it
- Double-click a key in the list to rename it, for example Smile or Blink
- Hover the Value field and press I to keyframe it for an animation
Common snags
The change disappears in Object Mode
A new key starts at Value 0. Drag its Value up to 1 to see the shape.
Every key changed at once
Basis was highlighted while you edited. Select Key 1 in the list before you press Tab, and undo the edit on Basis with Ctrl + Z.
The minus button removed the wrong key
The minus button removes the highlighted key. Click the key you want to remove first.
An AI add-on for Blender
AI Scene Builder is a Blender add-on that builds and edits your scene from one typed request, such as “a small wooden table with two chairs”. Each request can be undone in one click.
 A lighthouse island at sunset built with the add-on from 10 typed requests. See every request →
Questions
What is the Basis shape key?
The rest shape of the mesh. Other keys are stored as changes from it.
How do I animate a shape key?
Hover its Value field, press I to add a keyframe, change the frame and the Value, and press I again.
Can a shape key go past 1?
Yes. Raise the Max field next to Range Min below the list, then drag the Value higher.
What the pictures show
- Before: the cube had no shape keys and its top was at 1 m.
- After clicking + twice, the list showed Basis and Key 1, with Key 1 relative to Basis.
- With the top face of Key 1 raised 1 m and Value at 1, the top of the cube reached 2 m while Basis stayed at 1 m. The slider ran from 0 to 1.
- Results were identical in Blender 4.2 LTS and Blender 5.x.