How to Make an Object Follow a Path in Blender
Select the object, open the Constraints tab in the Properties editor, choose Add Object Constraint and pick Follow Path, then set a curve (for example a Bezier Circle) as the Target. Click Auto Animate Path on the constraint so the object travels along the curve as the timeline plays.
- Mode
- Object Mode, Properties editor > Constraints tab
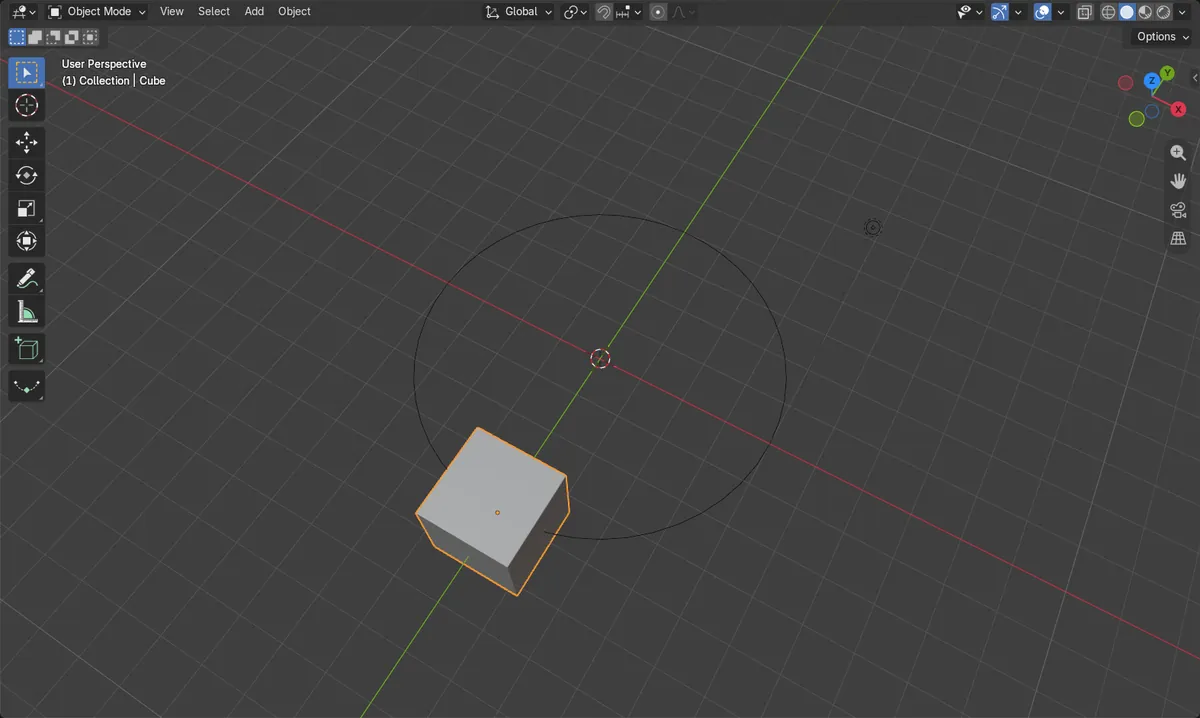
Pick the curve
Set the curve as Target, then use Auto Animate Path.
Scrub to test
Move through the timeline and watch the object travel.
Before and after

AI Scene Builder is a Blender add-on. You type what you want, and it builds it in your scene: buildings, neon signs, wet pavement, fog and lights. Nothing in this picture was modeled by hand.
On a phone now? The add-on runs in Blender on a computer. Send yourself the link and open it there.
Step by step (Blender 5.x)
- In the 3D Viewport choose Add › Curve › Circle to create a Bezier circle to use as the path.
- Click the object you want to move (for example the Cube) to make it the active object.
- Open the Constraints tab in the Properties editor and click Add Object Constraint, then choose Follow Path.
- In the Follow Path constraint, set Target to the curve (for example BezierCircle).
- Click Auto Animate Path on the constraint to add the default animation for the path.
- Scrub the timeline or press play. The object now moves along the curve.
Other ways to do it
- Ctrl + P (Make Parent) is a different method of attaching an object to a curve; the Follow Path constraint is the one that moves it along the path.

Common snags
Object does not move
If the object sits still when you scrub the timeline, the path has no animation yet. Click Auto Animate Path on the Follow Path constraint.
Wrong object selected
The constraint is added to the active object. Click the object you want to move, not the curve, before opening the Constraints tab.
Or type one line in AI Scene Builder
AI Scene Builder is a Blender add-on that carries out the steps for you from one typed request. For this task, type a request like this one, using your own object names:
Make the Cube follow the Bezier circle as a path and animate it over the timeline A lighthouse island at sunset built with the add-on from 10 typed requests. See every request →
Questions
How do I make an object move along a curve over time?
Add a Follow Path constraint, set the curve as Target and click Auto Animate Path. The object then travels along the curve across the frame range.
How do I make the object turn along with the path?
Use the rotation-following option in the Follow Path constraint settings so the object turns with the direction of the curve.
What the pictures show
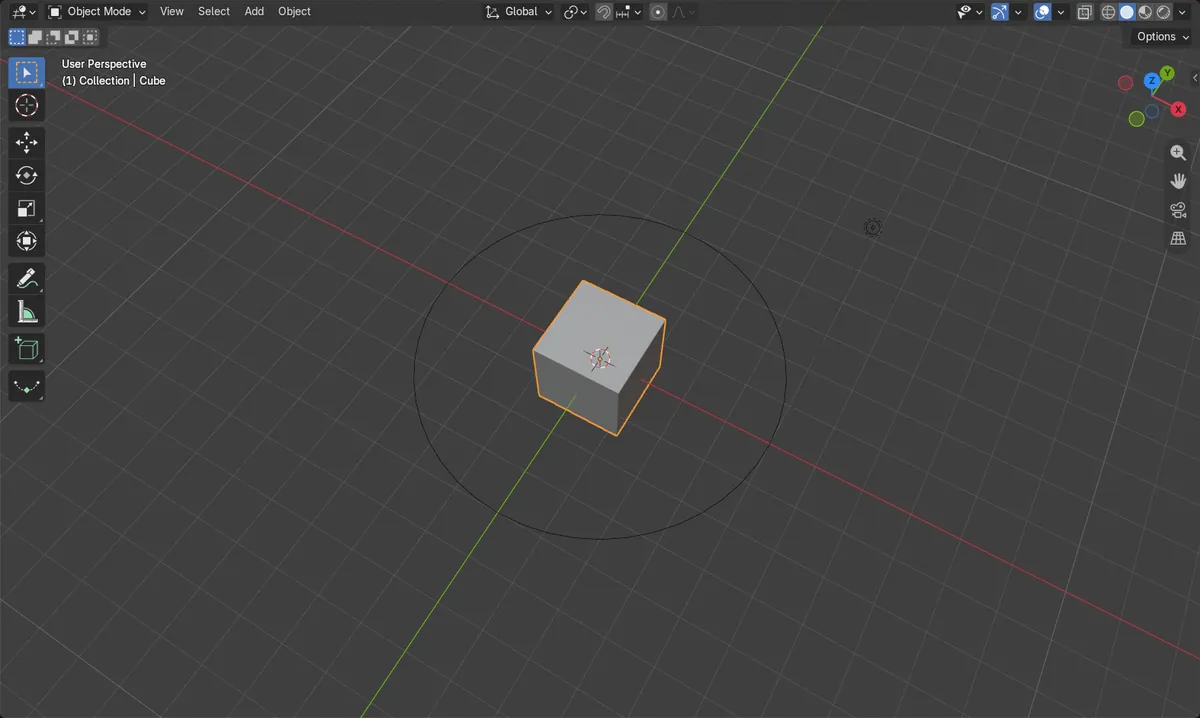
- Before: the Cube had no constraints and stayed at (0, 0, 0) on frames 1 and 50 (moved 0 m).
- After: the Cube had 1 constraint and sat at (0, -4, 0) on frame 1.
- At frame 50 it was at about (-0.25, 3.98, 0), roughly 4 m from the origin, on the far side of the 4 m radius circle (about 8 m in a straight line from its frame 1 position).
- The same result was found in Blender 4.2 LTS and Blender 5.x.