How to Set the Render Range to Selected Strips (Blender 5.3)
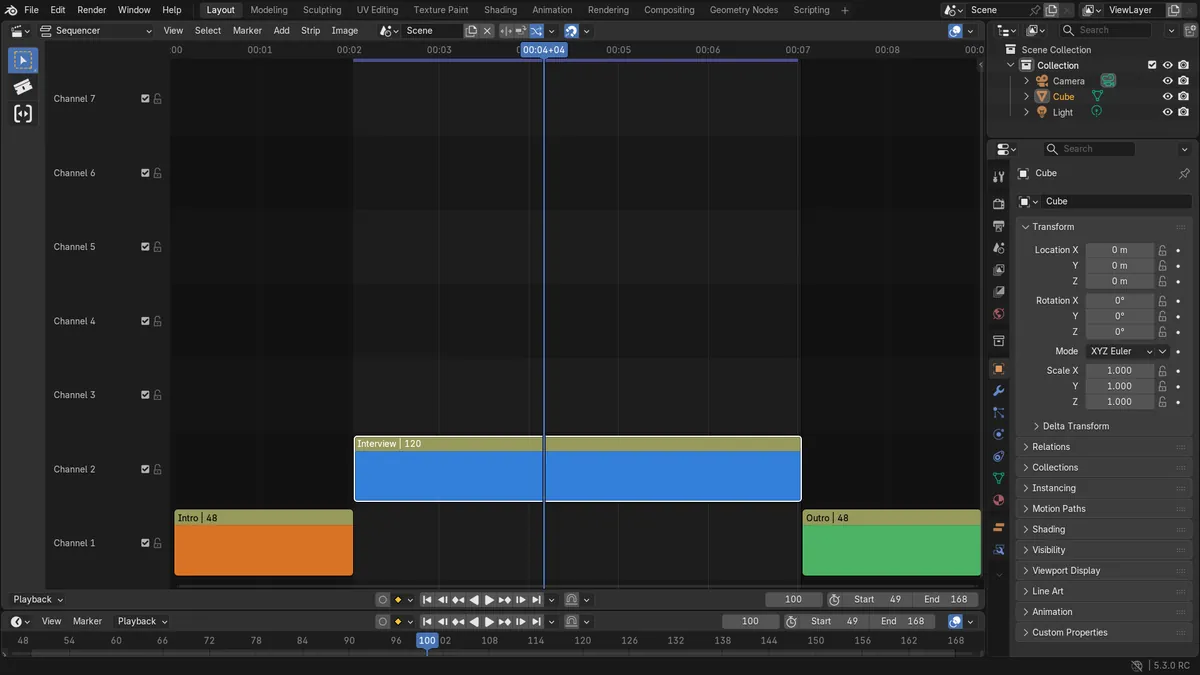
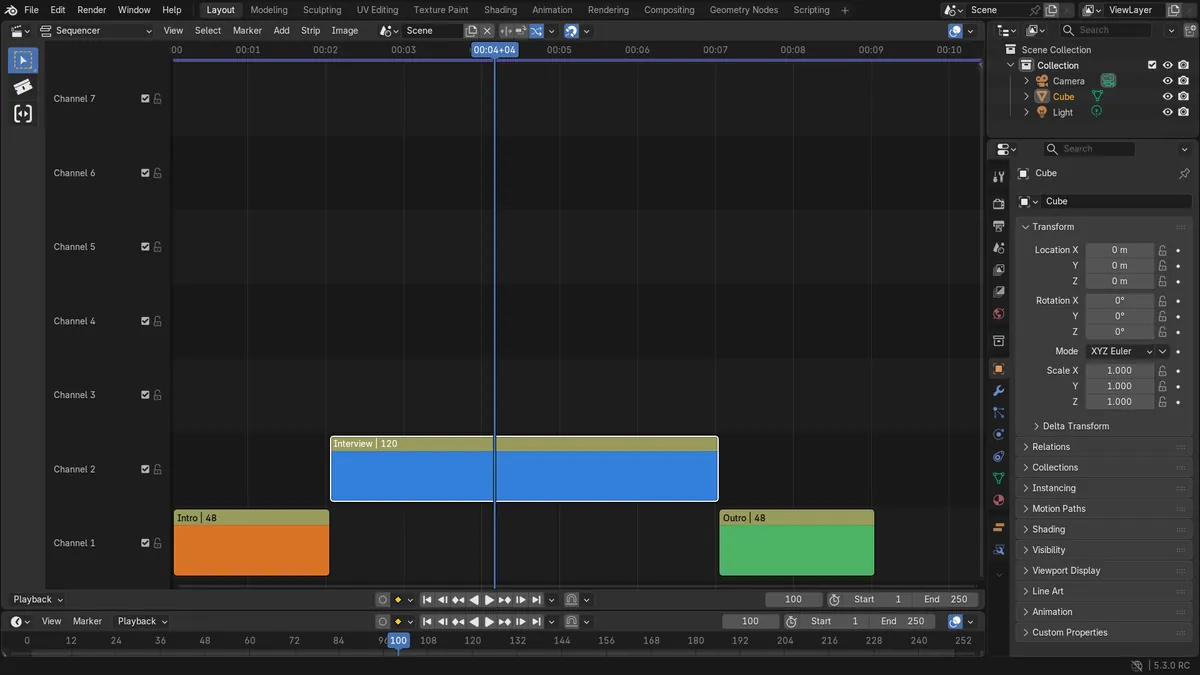
In Blender 5.3, select the strip in the Video Sequencer timeline, right-click and choose Set Render Range to Selected. The scene Start and End frames change to cover the selected strip, so the render and playback use that part of the edit. In the test the Interview strip ran from frame 49 to 168, and choosing the command changed the scene range from 1 to 250 to 49 to 168; the preview range stayed off. With Interview and Outro both selected, the range became 49 to 216, from the first frame of the first selected strip to the last frame of the last. In Blender 5.2 LTS the right-click menu has Set Preview Range to Strips, and the render range is set with View › Range › Set Frame Range to Strips.
- Mode
- Video Sequencer, timeline
- Menu
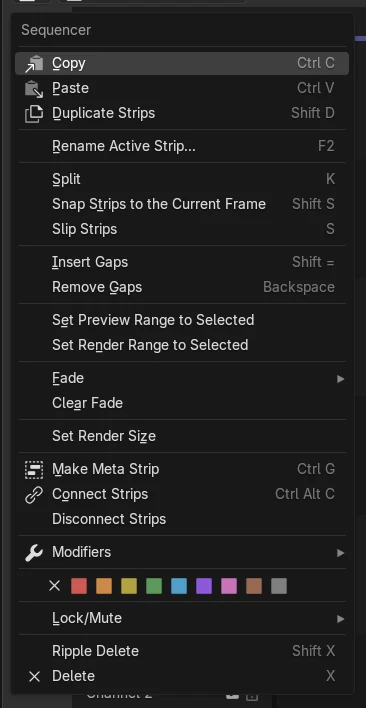
- Right-click a strip › Set Render Range to Selected
In the right-click menu
The Video Sequencer right-click menu lists Set Preview Range to Selected and Set Render Range to Selected.
Start and End follow the strip
With the Interview strip selected, the scene range changed from 1 to 250 to 49 to 168.
The preview range is separate
Set Render Range to Selected changes the scene Start and End. The preview range stayed off in the test.
Before and after
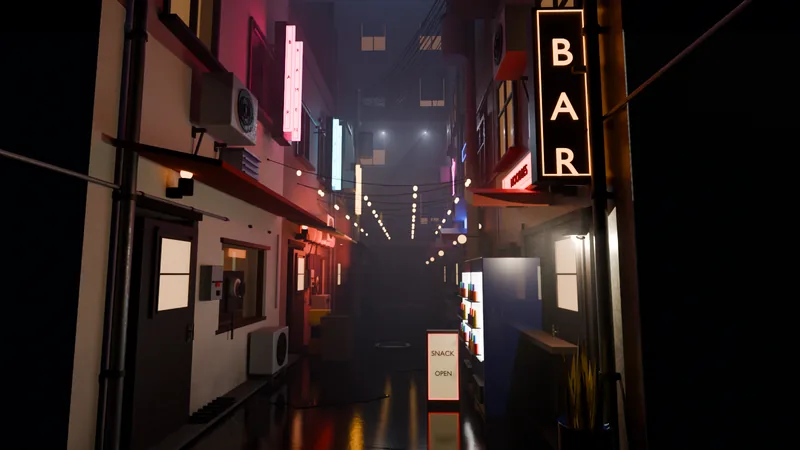
AI Scene Builder is a Blender add-on. You type what you want, and it builds it in your scene: buildings, neon signs, wet pavement, fog and lights. Nothing in this picture was modeled by hand.
On a phone now? The add-on runs in Blender on a computer. Send yourself the link and open it there.
Step by step (Blender 5.3)
- In the Video Sequencer timeline, click the strip you want to render. To cover several strips, select them all.
- Right-click in the timeline to open the context menu.
- Choose Set Render Range to Selected.Blender 5.2 LTS: Blender 5.2 LTS does not list this in the right-click menu; use View › Range › Set Frame Range to Strips.
- Check Start and End in the Timeline header or the Output properties: they now match the first and last frame of the strip.
Other ways to do it
- Open View › Range › Set Frame Range to Strips in the Video Sequencer
- Choose Set Preview Range to Selected in the same right-click menu to limit playback without changing the render range
Blender 5.2 LTS vs Blender 5.3
| What | Blender 5.2 LTS | Blender 5.3 |
|---|---|---|
| Right-click menu | Blender 5.2 LTS lists Set Preview Range to Strips. | Blender 5.3 lists Set Preview Range to Selected and Set Render Range to Selected. |
| View menu route | Blender 5.2 LTS has View › Range › Set Frame Range to Strips. | Blender 5.3 keeps View › Range › Set Frame Range to Strips. |
Common snags
The range covers the wrong part
Another strip was still selected. With several strips selected, the range runs from the first frame of the first selected strip to the last frame of the last. Click the strip you want so it is the one selected, then run the command again.
Playback still stops at the old frames
A preview range is set. Turn off the preview range in the Timeline header, or set it with Set Preview Range to Selected.
The command is missing from the menu
The preview area has its own right-click menu. Right-click over the strips in the timeline area of the Video Sequencer.
An AI add-on for Blender
AI Scene Builder is a Blender add-on that builds and edits your scene from one typed request, such as “a small wooden table with two chairs”. Each request can be undone in one click.
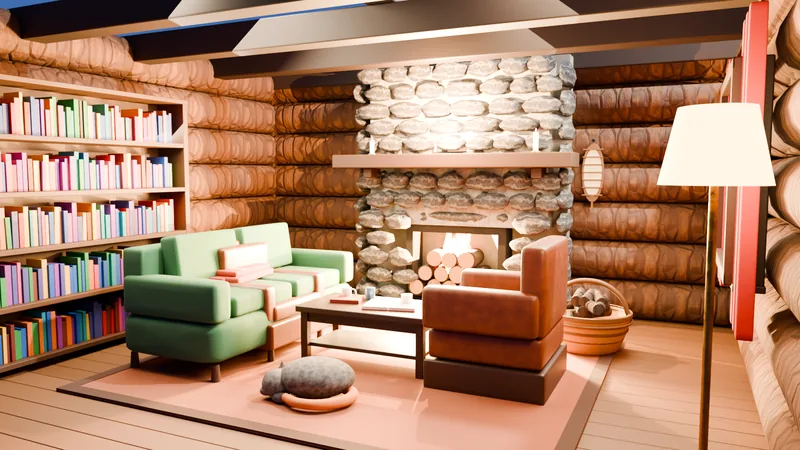 A log cabin room built with the add-on from 9 typed requests. See every request →
Questions
How do I render one strip in the Blender Video Sequencer?
Select the strip, right-click in the timeline and choose Set Render Range to Selected. Start and End then cover that strip.
What is the difference between Set Preview Range to Selected and Set Render Range to Selected?
The preview range limits playback. The render range changes the scene Start and End, which the render uses.
Is there a menu route as well as the right-click menu?
Yes. View › Range › Set Frame Range to Strips sets the scene range in the Video Sequencer.
What the pictures show
- Before: a Blender 5.3 edit with three strips, Intro from frame 1 to 48, Interview from 49 to 168 and Outro from 169 to 216, the scene range at 1 to 250, and Interview selected.
- After Set Render Range to Selected in Blender 5.3: the scene range was 49 to 168 and the preview range was still off. With Interview and Outro both selected, the range was 49 to 216.
- In Blender 5.2 LTS the same operation from View > Range > Set Frame Range to Strips gave 49 to 168, and 49 to 216 with both strips selected.