How to Add Bones (an Armature) in Blender
In Object Mode press Shift + A and choose Armature to add one bone at the 3D cursor. Press Tab to enter Edit Mode, click the bone's tip and press E to extrude a new bone connected to it. Turn on In Front in the Object Properties tab › Viewport Display so the bones show through your mesh.
- Mode
- Object Mode, then Edit Mode on the armature
- Menu
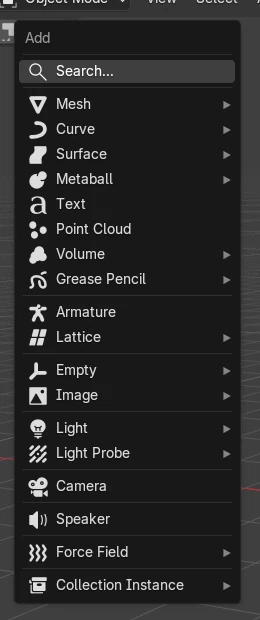
- Add › Armature
- Shortcut
- Shift + A, then E in Edit Mode
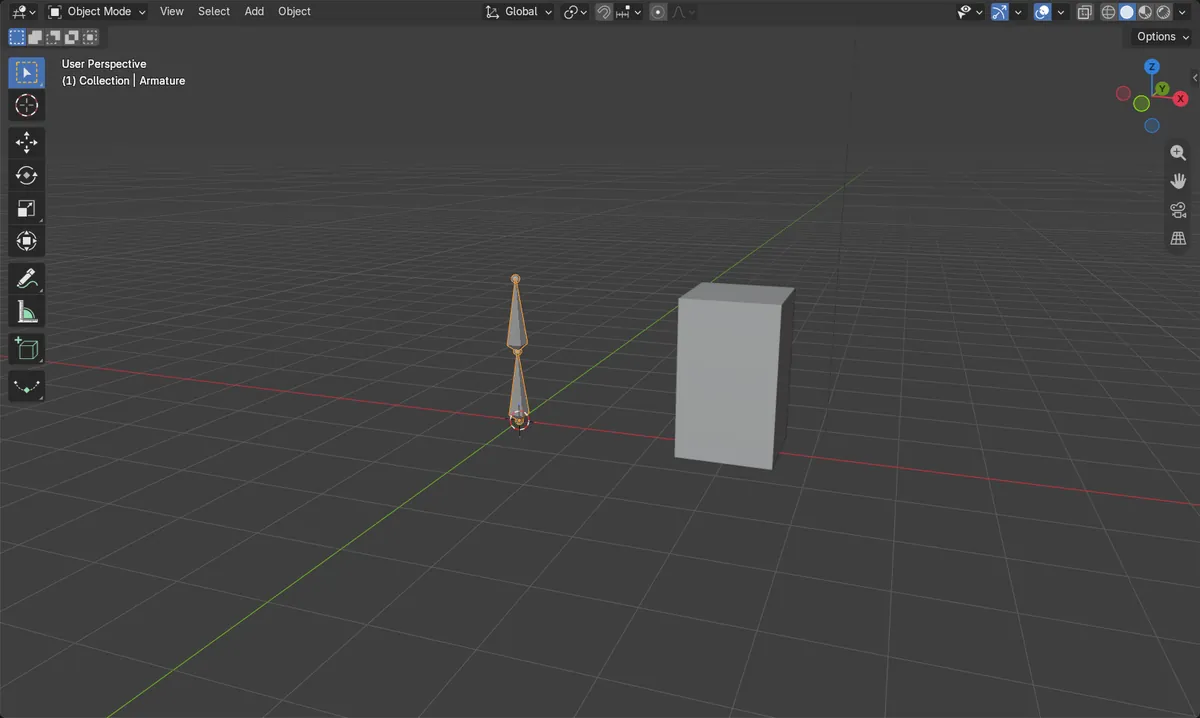
Shift + A > Armature
Adds an armature with one bone at the 3D cursor.
E extrudes a bone
From the tip in Edit Mode, the new bone is connected as a child.
In Front
Shows the bones on top of the mesh.
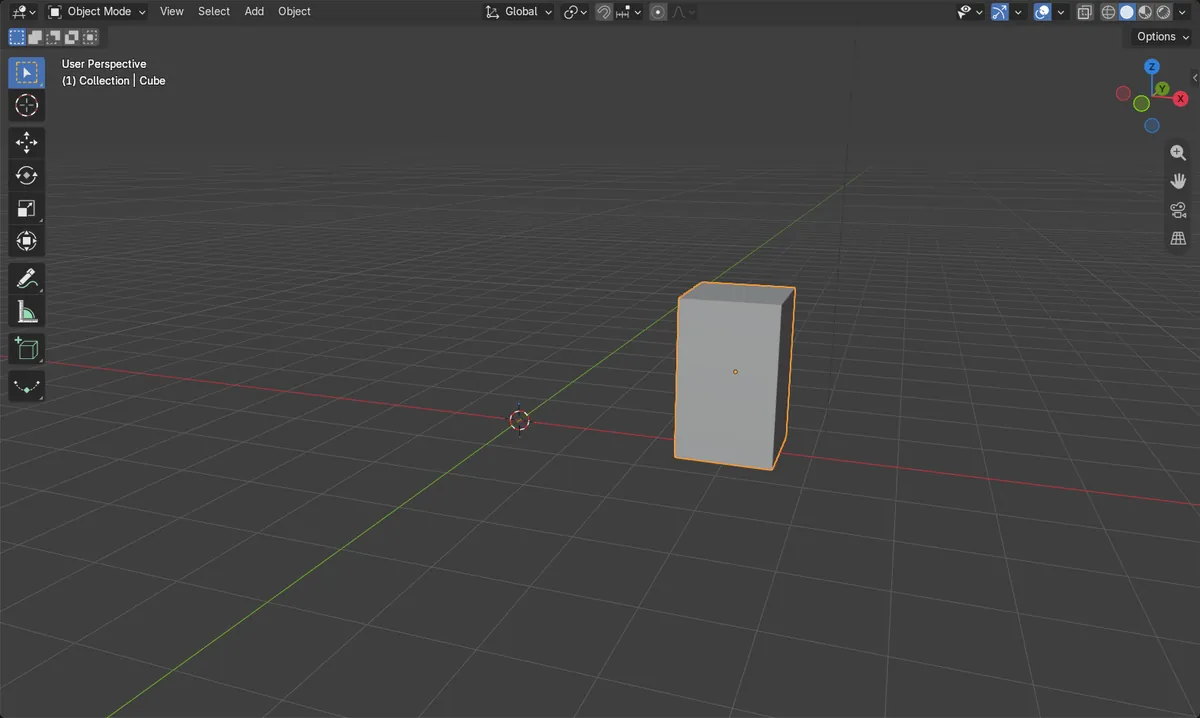
Before and after
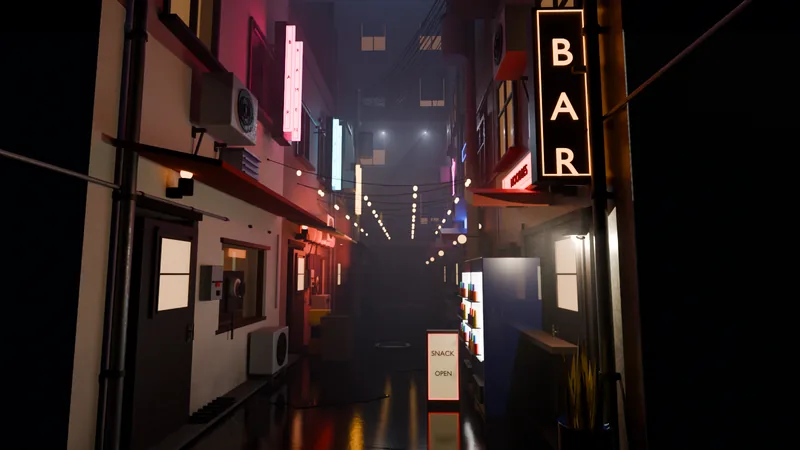
AI Scene Builder is a Blender add-on. You type what you want, and it builds it in your scene: buildings, neon signs, wet pavement, fog and lights. Nothing in this picture was modeled by hand.
On a phone now? The add-on runs in Blender on a computer. Send yourself the link and open it there.
Step by step (Blender 5.x)
- Place the 3D cursor where the first bone should start (Shift + right-click), then in Object Mode press Shift + A and choose Armature.
- With the armature selected, press Tab to enter Edit Mode.
- Click the small ball at the tip of the bone to select it.
- Press E and move the mouse to pull out a new bone, then click to confirm. Repeat for more bones.
- Press Tab to go back to Object Mode, open the Object Properties tab and turn on Viewport Display › In Front.
Other ways to do it
- Shift + A in armature Edit Mode adds a separate bone that is not connected
- Choose Pose Mode from the mode menu in the header to pose the bones
Common snags
The bones are hidden inside the mesh
Turn on In Front in the Object Properties tab › Viewport Display of the armature.
The new bone is not attached
Extrude with E from the tip of a selected bone. A bone added with Shift + A starts on its own with no parent.
The whole armature moves instead of one bone
Bones are posed in Pose Mode. Choose Pose Mode from the mode menu in the 3D Viewport header, then select and rotate a bone.
An AI add-on for Blender
AI Scene Builder is a Blender add-on that builds and edits your scene from one typed request, such as “a small wooden table with two chairs”. Each request can be undone in one click.
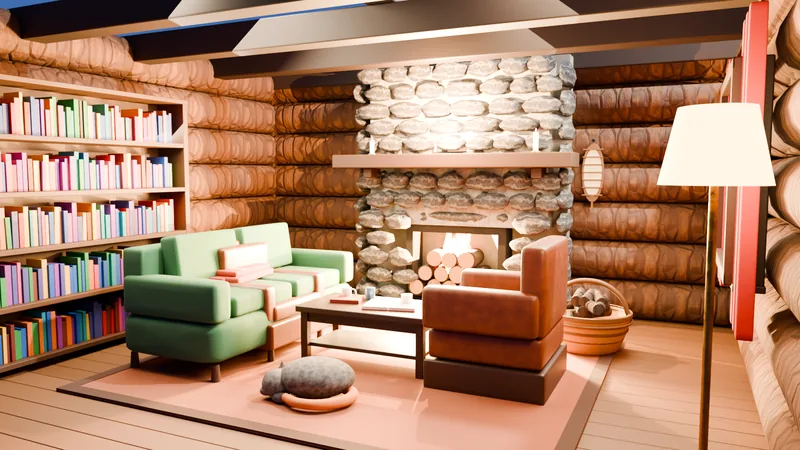 A log cabin room built with the add-on from 9 typed requests. See every request →
Questions
How do I add more bones to an armature?
Enter Edit Mode on the armature, select a bone tip and press E, or press Shift + A for a separate bone.
How do I rename a bone?
Double-click its name in the Outliner, or edit the name in the Bone Properties tab.
How do I see bone names in the viewport?
In the Object Data Properties tab of the armature, open Viewport Display and turn on Names.
What the pictures show
- Before: the scene had only a cube and no armature.
- After Shift + A > Armature and one E extrude, the armature had 2 bones: Bone from 0 to 1 m and Bone.001 from 1 to 2 m.
- Bone.001 had Bone as its parent, and In Front showed both bones clearly.
- Results were identical in Blender 4.2 LTS and Blender 5.x.