How to Add an Image Texture to an Object in Blender
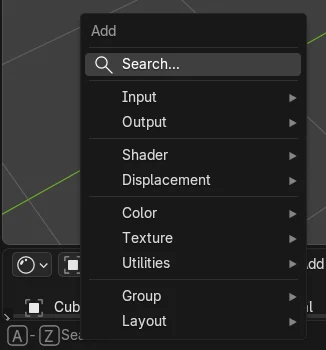
Open the Shader Editor with the object selected, press Shift + A and choose Texture › Image Texture, then click Open on the new node and pick your image. Drag from the node's yellow Color socket to Base Color on the Principled BSDF. Press Z in the 3D Viewport and choose Material Preview to see the image on the object.
- Mode
- Shader Editor or Material Properties
- Menu
- Add › Texture › Image Texture
- Shortcut
- Shift + A in the Shader Editor
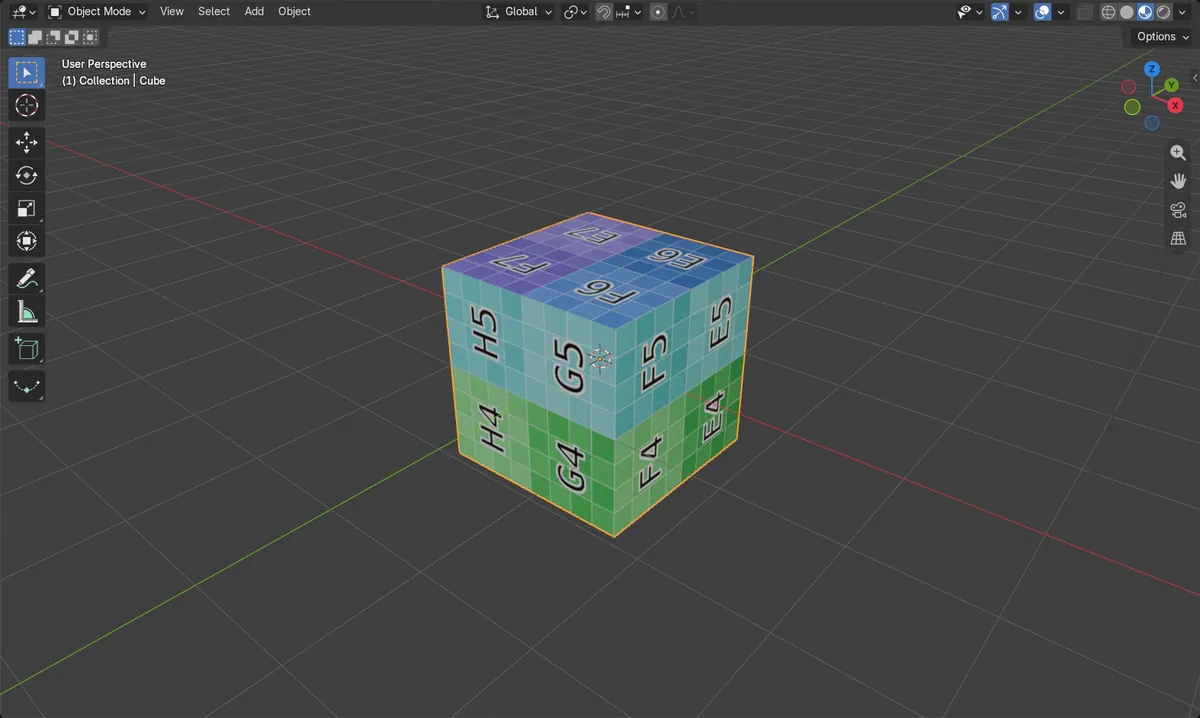
Image Texture node
In the Shader Editor, press Shift + A and choose Texture › Image Texture.
Color to Base Color
Link the node to the Principled BSDF to show the image.
Material Preview
Press Z and choose Material Preview to see the texture.
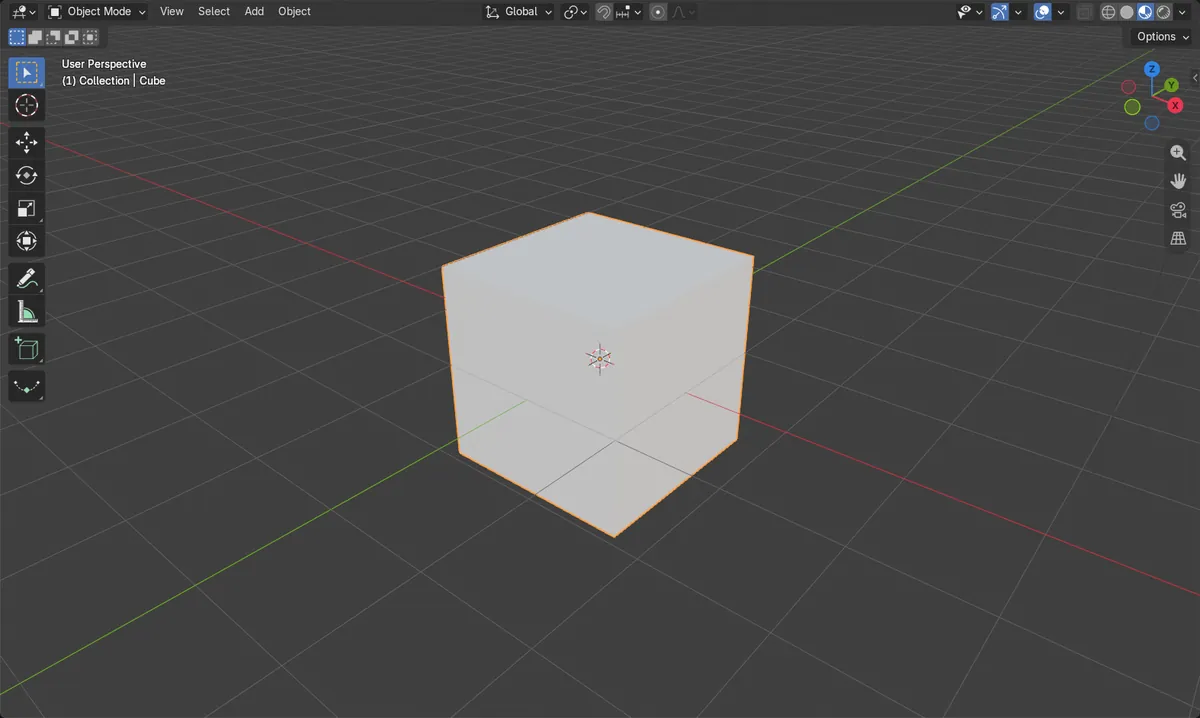
Before and after
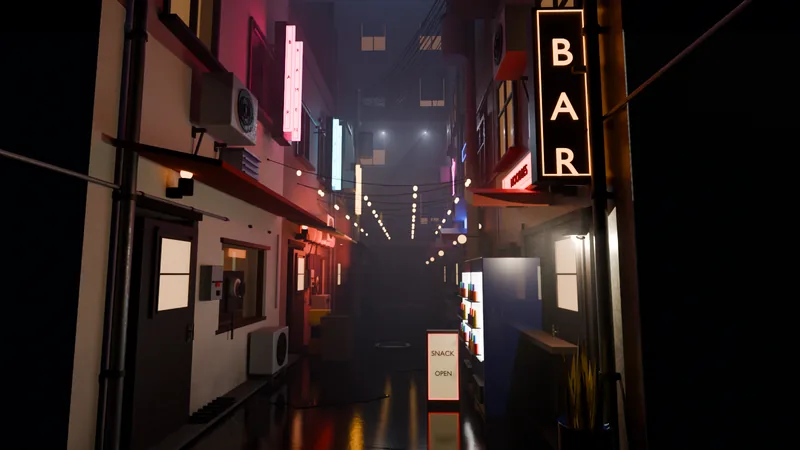
AI Scene Builder is a Blender add-on. You type what you want, and it builds it in your scene: buildings, neon signs, wet pavement, fog and lights. Nothing in this picture was modeled by hand.
On a phone now? The add-on runs in Blender on a computer. Send yourself the link and open it there.
Step by step (Blender 5.x)
- Select the object. If it has no material, open the Material Properties tab and click New.
- Open a Shader Editor: switch to the Shading workspace tab at the top, or change any editor's type to Shader Editor.
- Hover the Shader Editor, press Shift + A and choose Texture › Image Texture. Click to place the node.
- Click Open on the node and choose your image file.
- Drag from the node's Color output to the Base Color input of the Principled BSDF.
- In the 3D Viewport press Z and choose Material Preview to see the image on the object.
Other ways to do it
- Material Properties tab › Surface: click the small circle next to Base Color and choose Image Texture, then click Open
- Shift + A in the Shader Editor, then type to search for Image Texture
Common snags
The object still looks grey
The 3D Viewport is in Solid shading. Press Z and choose Material Preview or Rendered to see textures.
The image is stretched or in the wrong place
The texture follows the object's UV map. Basic shapes such as the default cube come with one; for your own models, go to Edit Mode, select all, press U and choose Smart UV Project, then adjust in the UV Editor.
The image is pink after reopening the file
Blender cannot find the image file any more. Use File › External Data › Find Missing Files and point it to the folder that holds the image.
An AI add-on for Blender
AI Scene Builder is a Blender add-on that builds and edits your scene from one typed request, such as “a small wooden table with two chairs”. Each request can be undone in one click.
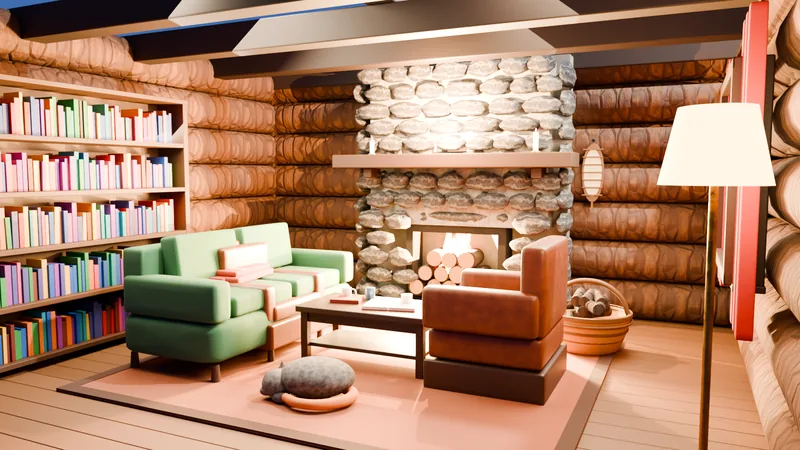 A log cabin room built with the add-on from 9 typed requests. See every request →
Questions
How do I add a texture to only one face?
Make a second material, select the face in Edit Mode, choose the material in the list and click Assign.
How do I scale an image texture?
Scale the UVs in the UV Editor, or put a Mapping node between a Texture Coordinate node and the Image Texture.
Which image formats can I use?
Common image files such as PNG and JPEG load through Open on the Image Texture node.
What the pictures show
- Before: the cube's Principled BSDF had nothing linked to Base Color.
- After adding an Image Texture node with a 1024 x 1024 grid image and linking Color to Base Color, the Base Color input was fed by the image.
- The default cube already had a UV map, so the grid showed on every face without extra steps.
- Results were identical in Blender 4.2 LTS and Blender 5.x.