How to Apply the Current Pose as the Rest Pose in Blender
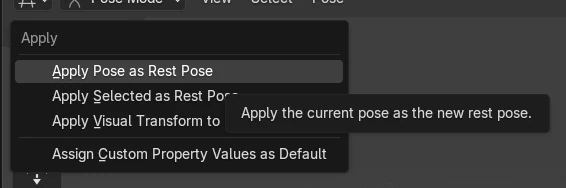
Select the armature, switch to Pose Mode, and choose Pose › Apply › Apply Pose as Rest Pose in the 3D Viewport. The bones keep their posed position and the pose transforms reset to zero, so the pose becomes the new rest pose.
- Mode
- Pose Mode (3D Viewport)
- Menu
- Pose › Apply › Apply Pose as Rest Pose
Pose > Apply
Apply Pose as Rest Pose is in the Apply submenu of the Pose menu.
Pose Mode only
The Pose menu appears only while the armature is in Pose Mode.
Pose becomes rest
Bones stay where they are; their pose values return to zero.
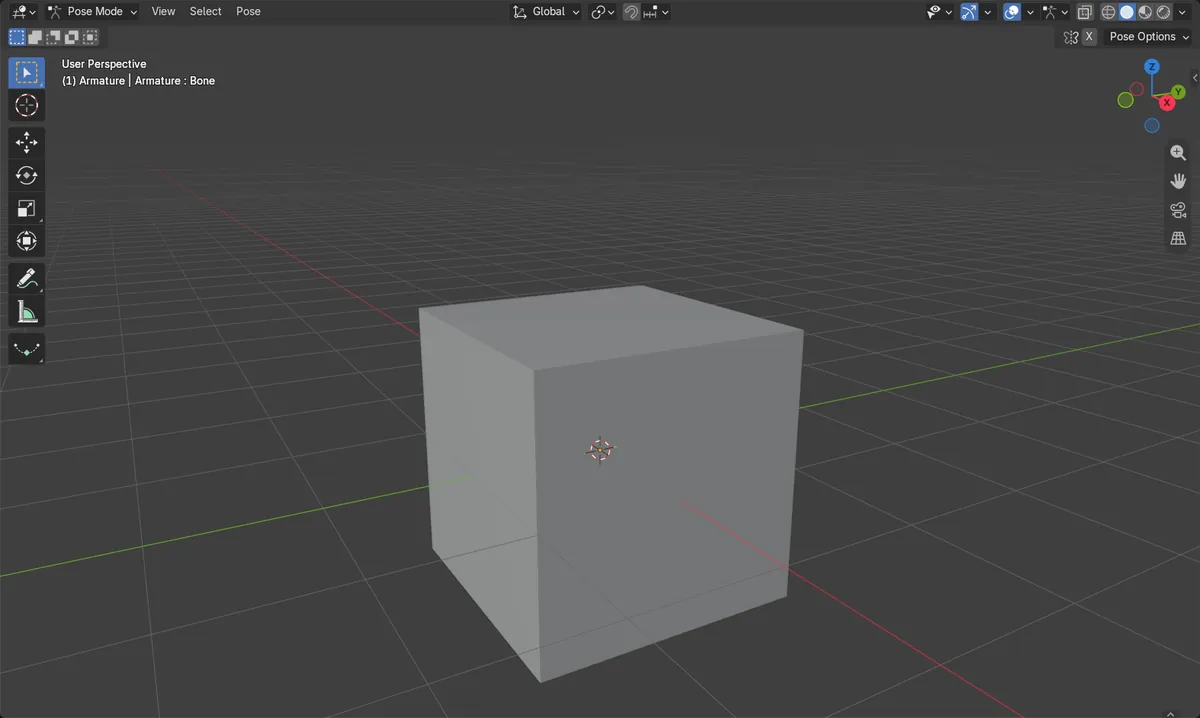
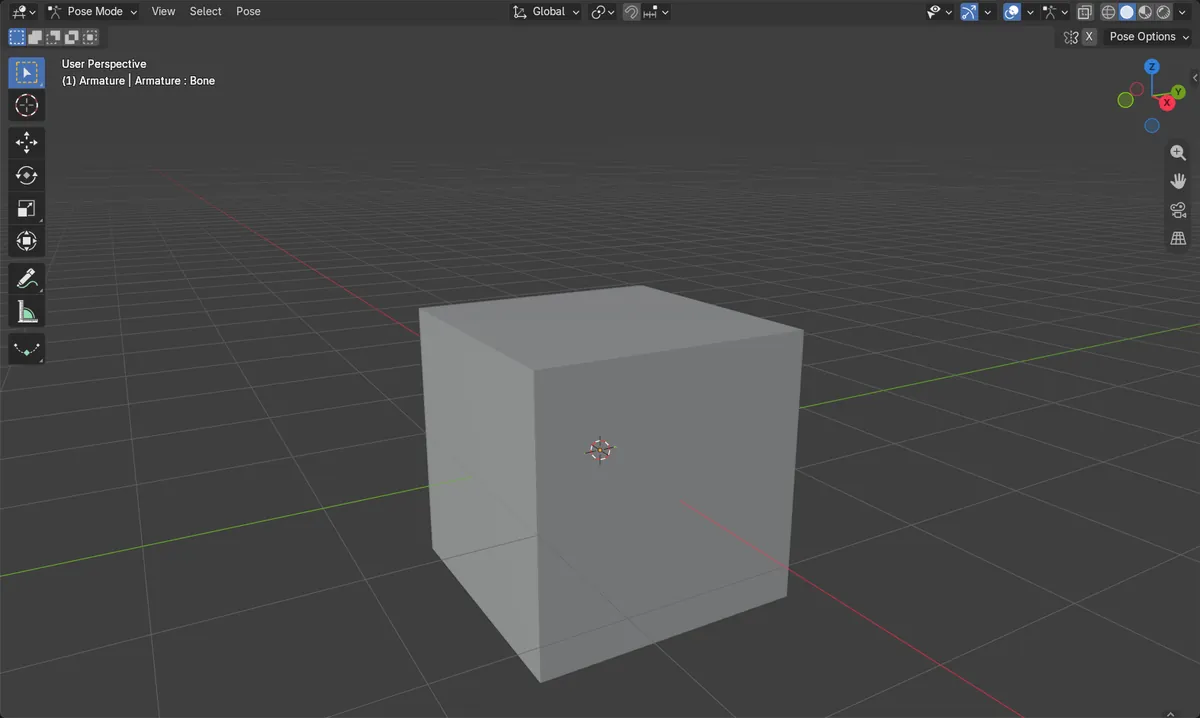
Before and after
AI Scene Builder is a Blender add-on. You type what you want, and it builds it in your scene: buildings, neon signs, wet pavement, fog and lights. Nothing in this picture was modeled by hand.
On a phone now? The add-on runs in Blender on a computer. Send yourself the link and open it there.
Step by step (Blender 5.x)
- Click the armature in the 3D Viewport to select it.
- Switch to Pose Mode using the mode drop-down at the top left of the 3D Viewport.
- Pose the bones the way you want them to become the rest pose.
- Choose Pose › Apply › Apply Pose as Rest Pose.
- To apply only some bones, select them first and choose Pose › Apply › Apply Selected as Rest Pose.
Other ways to do it
- Pose › Apply › Apply Selected as Rest Pose applies only the selected bones.
- Pose › Apply › Apply Visual Transform to Pose bakes constraint results into the pose transform (a different operation).
Common snags
No Pose menu
If the Pose menu is missing, the armature is not in Pose Mode. Select the armature and switch to Pose Mode from the mode drop-down.
Only some bones changed
Apply Selected as Rest Pose affects only selected bones. Use Apply Pose as Rest Pose to apply to all bones.
Bones still look posed
This is expected: the pose becomes the rest pose, so the bones stay in place. Their Rotation values in the Bone tab show zero. To see the new rest, set Pose Position to Rest Position in the Data tab › Pose panel.
Or type one line in AI Scene Builder
AI Scene Builder is a Blender add-on that carries out the steps for you from one typed request. For this task, type a request like this one, using your own object names:
Apply the current pose of the armature as its rest pose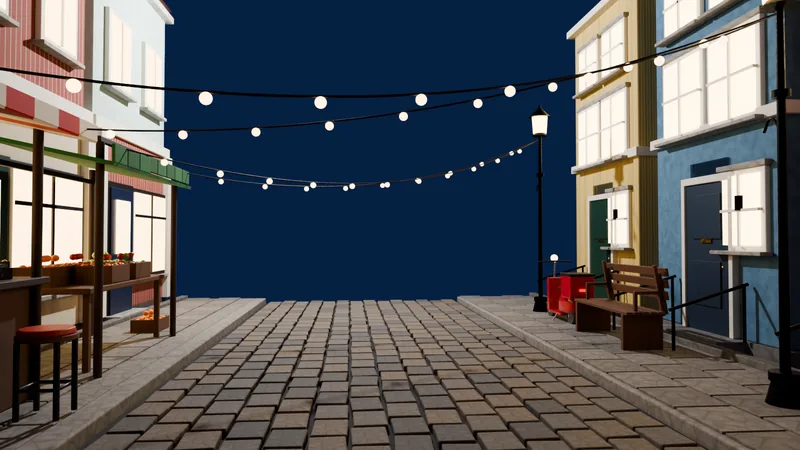 An evening market street built with the add-on from 11 typed requests. See every request →
Questions
How do I make my pose the rest pose in Blender?
In Pose Mode, choose Pose › Apply › Apply Pose as Rest Pose. The current pose becomes the new rest pose.
Is there a default shortcut for Apply Pose as Rest Pose?
No default key is assigned. Use the Pose › Apply menu.
Can I apply only some bones?
Yes. Select the bones and choose Pose › Apply › Apply Selected as Rest Pose.
What the pictures show
- Before: a bone was rotated 30° on X, with its rest tail at (0, 0, 1) m.
- After: the pose rotation is 0°.
- The bone tail stayed at about (0, -0.5, 0.87) m in the world.
- The rest tail moved from (0, 0, 1) to (0, -0.5, 0.87) m.