How to Parent an Object to a Bone in Blender
Click the object, Shift-click the armature, switch to Pose Mode, click the bone you want and press Ctrl + P, then choose Bone: the object now follows only that bone and stays exactly where it was. You can also set it in the Object tab under Relations with Parent Type set to Bone.
- Mode
- Pose Mode, 3D Viewport
- Menu
- Pose › Parent › Bone
- Shortcut
- Ctrl + P
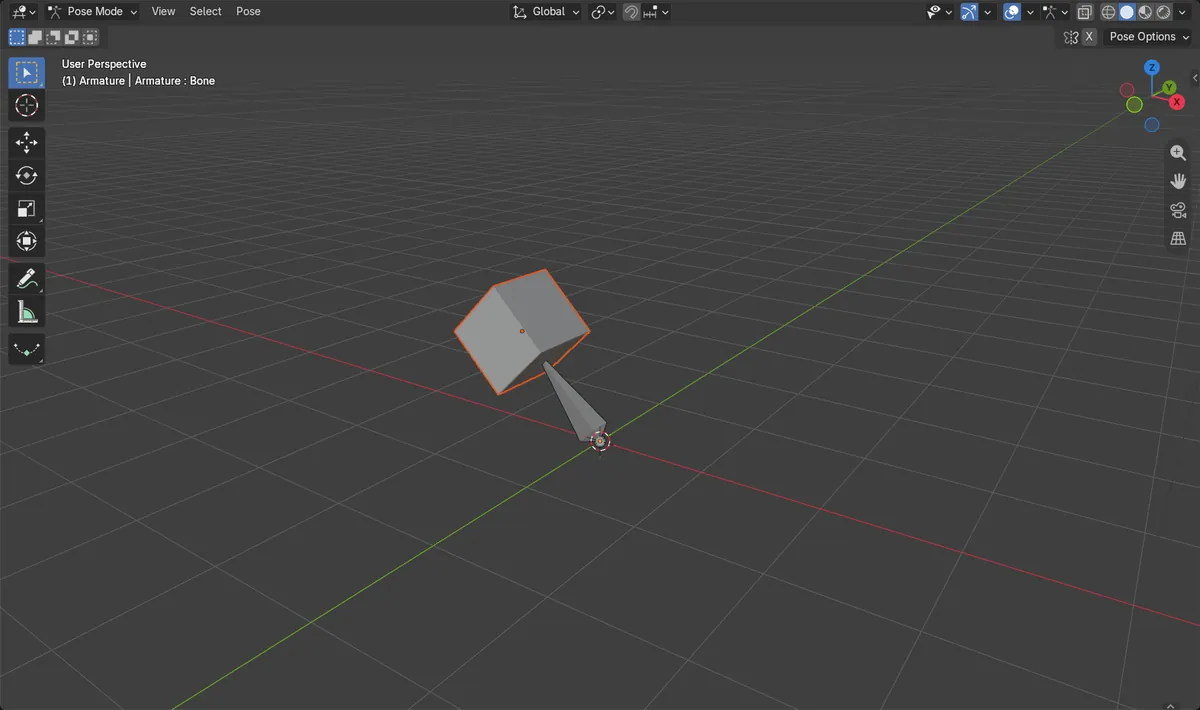
Ctrl + P, then Bone
Parents the selected object to the active bone, not the whole armature.
Relations panel
Parent, Parent Type and Parent Bone can be set by hand in the Object tab.
Alt + P clears
Removes the parent again in Object Mode.
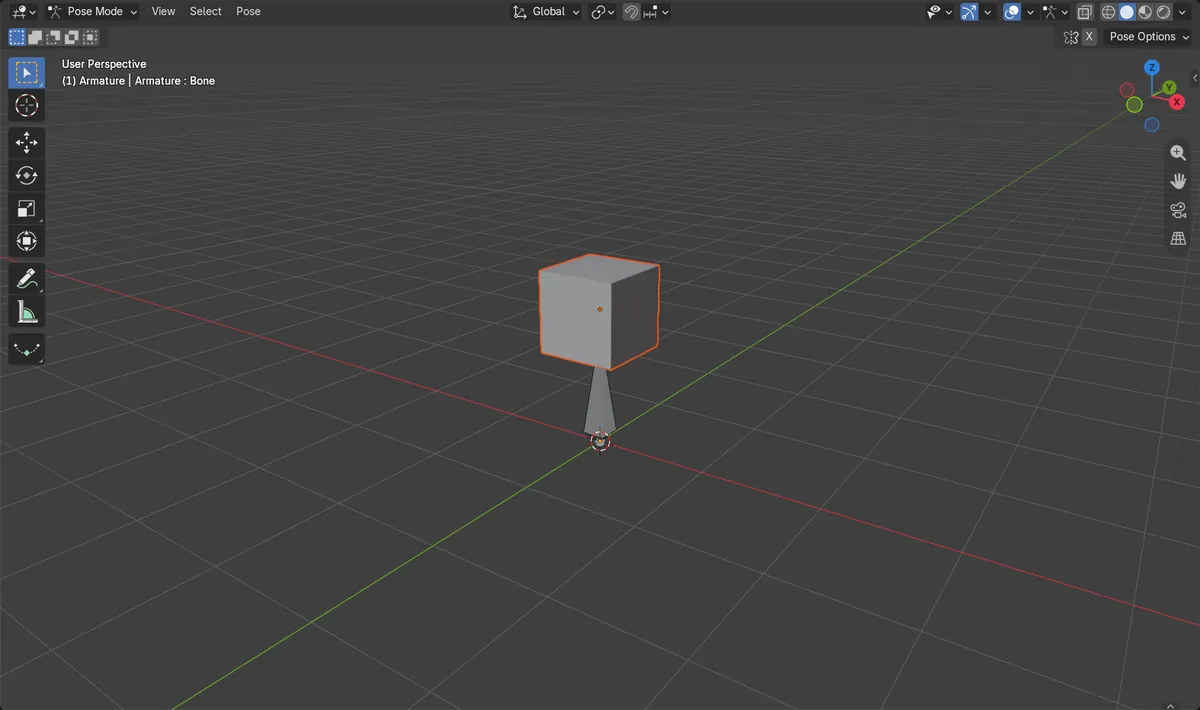
Before and after

AI Scene Builder is a Blender add-on. You type what you want, and it builds it in your scene: buildings, neon signs, wet pavement, fog and lights. Nothing in this picture was modeled by hand.
On a phone now? The add-on runs in Blender on a computer. Send yourself the link and open it there.
Step by step (Blender 5.x)
- In Object Mode, click the object that should follow the bone, for example a sword or a hat.
- Shift-click the armature so it becomes the active object, with the first object still selected.
- Switch to Pose Mode with the mode drop-down in the 3D Viewport header.
- Click the bone the object should follow, such as the hand or head bone.
- Press Ctrl + P and choose Bone. The object keeps its place and now moves with that bone.
- Rotate the bone to check: the object turns with it, while other bones do not affect it.
Other ways to do it
- Object tab › Relations: set Parent to the armature, Parent Type to Bone and pick the bone in Parent Bone
- Pose › Parent › Bone in the 3D Viewport header while in Pose Mode
Common snags
The object follows the whole armature
Object was chosen instead of Bone in the Ctrl + P menu, or the parenting was done in Object Mode. Clear it with Alt + P and parent again from Pose Mode.
The object jumps to the bone tip
Setting Parent Type to Bone in the Relations panel does not keep the offset. Use Ctrl + P, then Bone from Pose Mode, which keeps the object in place.
The wrong bone was used
Blender uses the active bone, the one clicked last. Click the right bone again before pressing Ctrl + P.
An AI add-on for Blender
AI Scene Builder is a Blender add-on that builds and edits your scene from one typed request, such as “a small wooden table with two chairs”. Each request can be undone in one click.
 A lighthouse island at sunset built with the add-on from 10 typed requests. See every request →
Questions
How do I attach an object to a bone in Blender?
Select the object, Shift-click the armature, enter Pose Mode, click the bone and press Ctrl + P, then Bone.
What is the difference between Bone and Bone Relative?
Bone keeps the object in place when parenting. Bone Relative keeps the bone's rest offset, which helps when the bone is moved in Edit Mode later.
How do I unparent an object from a bone?
Select it in Object Mode, press Alt + P and choose Clear and Keep Transformation.
What the pictures show
- Before: a cube with no parent at a height of 1.2 m next to an armature.
- After Ctrl + P, then Bone in Pose Mode: the cube's parent is Armature, Parent Type is Bone and Parent Bone is Bone.
- The cube stayed at 1.2 m in world space, so it did not jump.
- Results were identical in Blender 4.2 LTS and Blender 5.x.